Use this article for instructions on how to remove the back cover and install batteries for Blink Outdoor and Indoor (3rd Gen) cameras.
Before you begin
Before attempting to remove the back cover, make sure the camera is disconnected from any mounts or accessories. This includes any third-party products it may be attached to.
If the camera is brand new, a plastic sticker on the back of the camera shows the direction to turn. Peel off this sticker before using the camera.
To remove the back cover and open the camera
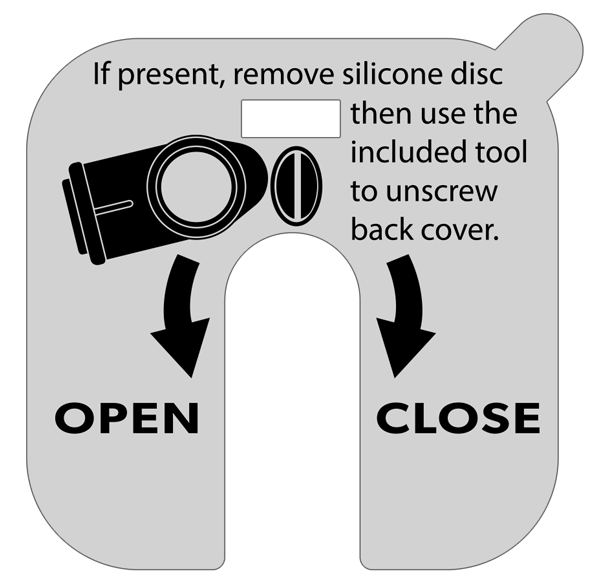
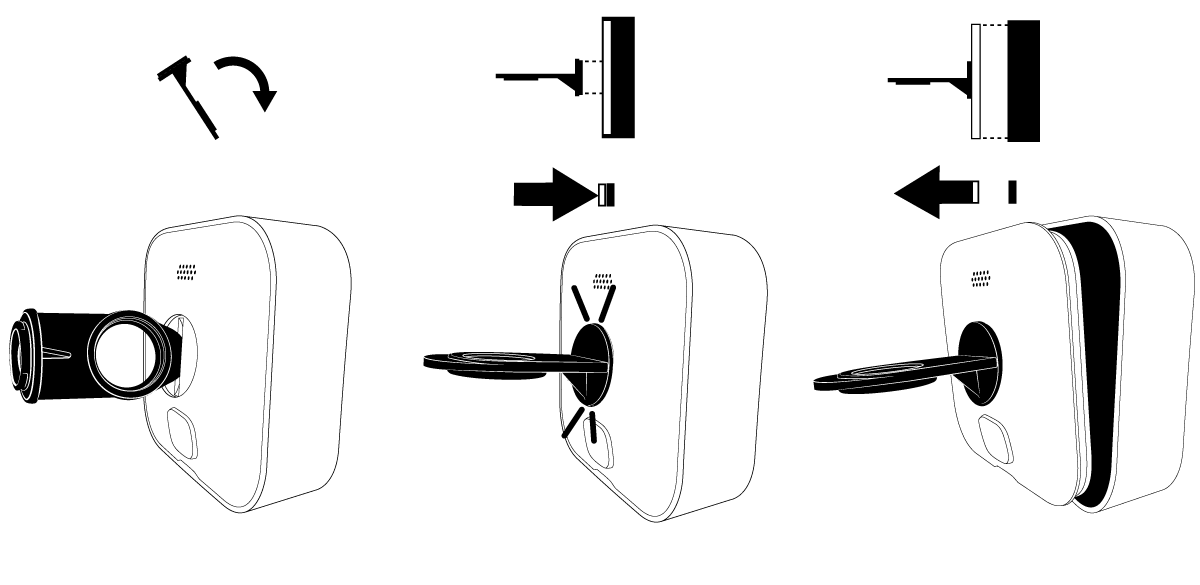
- If it is present, remove the silicone protective cover from the fastening screw, and keep it for future use.
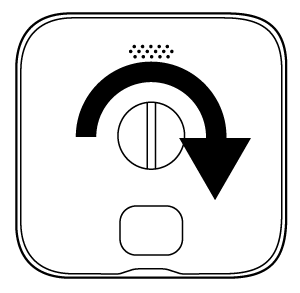
- Use the included opening tool to turn the screw counter-clockwise (turning to the left) until the screw rotates freely. If the tool isn't available, an equivalent object such as a coin or a flat head screwdriver can also be used.

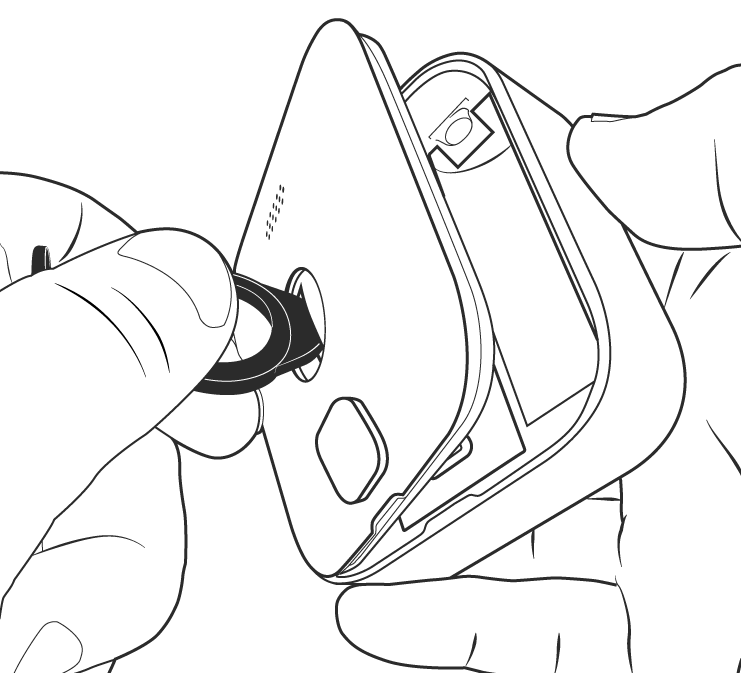
- With the tool inserted into the slot, apply side pressure on the tool and gently pry the cover loose. As shown in the illustration, hold the camera on its side with one hand while you pull with the other hand.
Optional instructions: There is another way to remove the back cover.
- After the screw has been unscrewed completely, flip the opening tool around and insert the mounting end into the camera's back cover hole. You will feel and hear a click when the tool is secured.
- Hold the camera with one hand and pull the opening tool gently backwards. This will allow the back cover to come off.
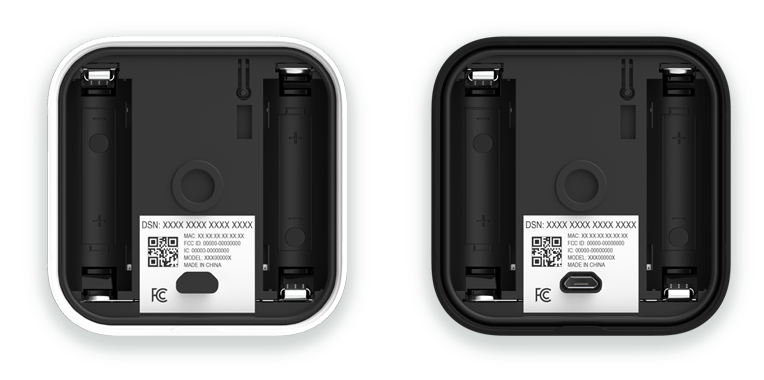
Install or replace batteries
Once the back cover has been removed, you will have access to the battery compartment. Add or replace the 2 AA lithium batteries into their slots, matching up the + and - that's labeled on the camera with the + and - labeled on the batteries.
Replace and secure the back cover
- Align the guide notches as shown, and press the cover back in place against the camera body.
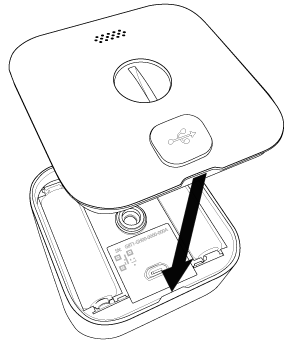
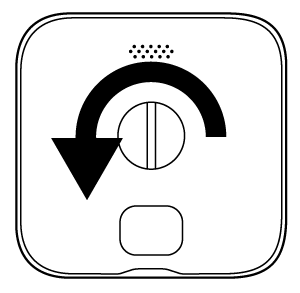
- Hand tighten the screw clockwise (turning to the right) until snug. Take care to prevent over-tightening. The cover should be flush with the camera body when you are done.