Install a wedge or corner mount

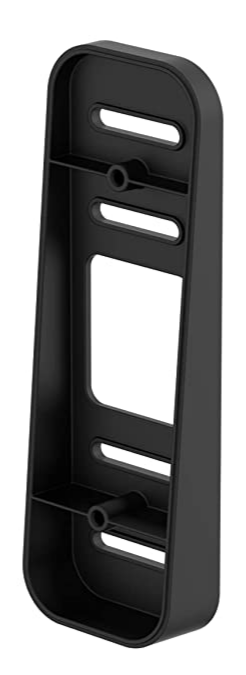
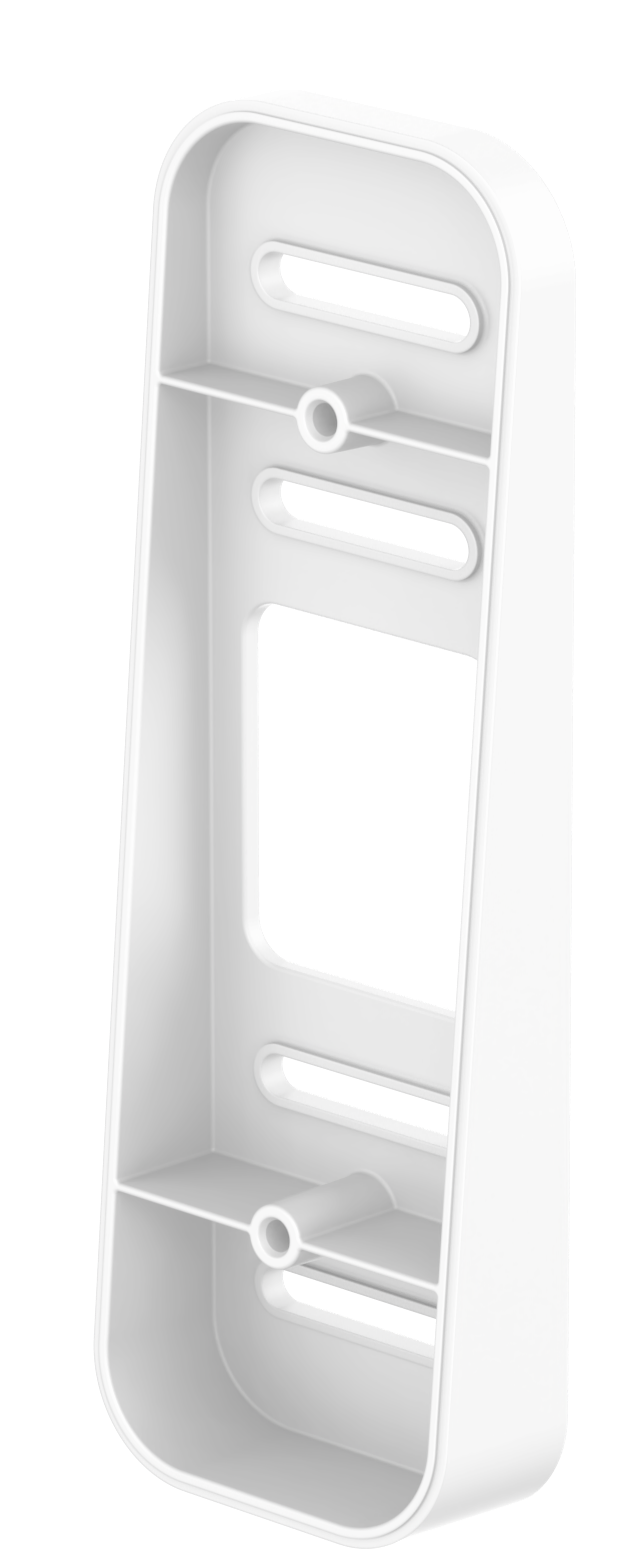
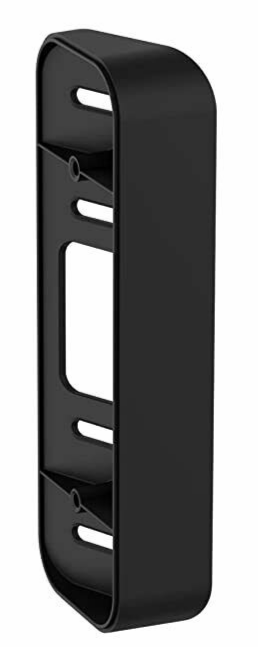
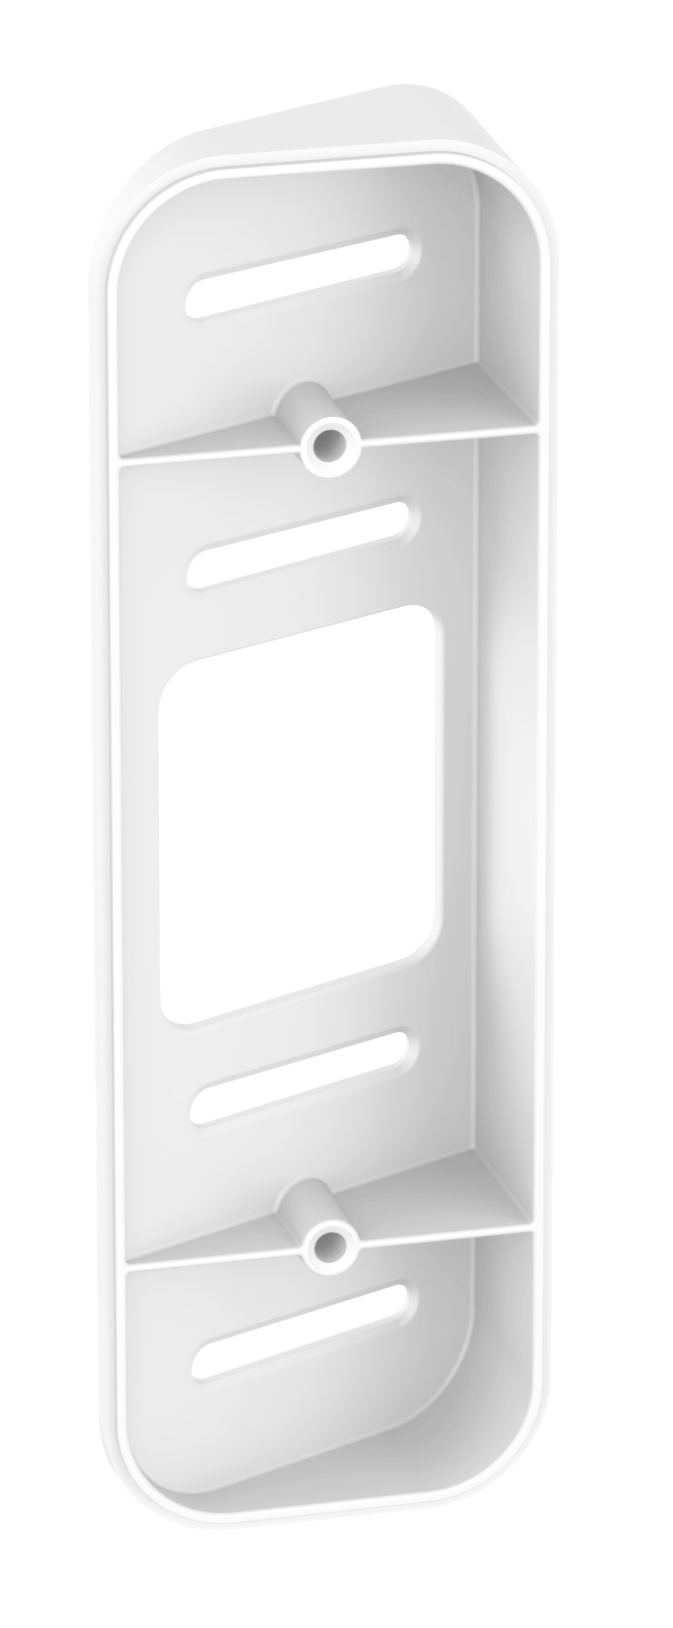
The camera in the doorbell has a field of view pointing straight out from the mounting surface. If the image does not capture the view you want, a Wedge offers 5° vertical tilt (up and down), and a Corner Mount offers 25° horizontal tilt (side to side). These accessories come in black or white to match your doorbell.

1637706873492-1637706873492.png1637704292416-1637704292416.png 1637706439151-right-side-black-corner.jpg1637704372689-1637704372689.png
Wedge (5º up and down) Corner Mount (25º left or right)

Click to visit the Amazon purchase page for the Wedge and Corner Mount accessories (external link, opens in a new browser window).


How to Install the Wedge or Corner Mount

Check the doorbell view and placement by pressing the doorbell button, and then in the Blink app, tap the notification you receive to enter Live View.

While in Live View, you are looking out of the doorbell camera. You can adjust the position and location to get the view you want, before drilling into your wall.

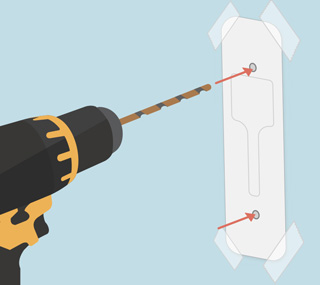
The included drill template works for the mounts and the doorbell.

1. Drill mounting holes.

Tape the template in place approximately 40 - 48 inches (102 -122cm) above the ground. If you want to use the wiring from a doorbell you already have, place the template so that the wires will reach through the central open area of the wedge.

2. Mount accessory then attach back plate.

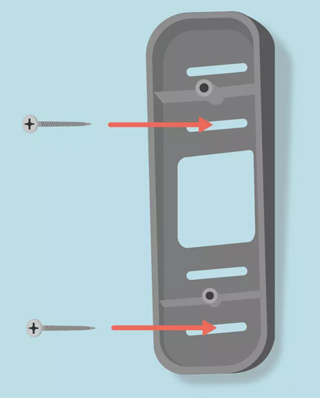
The Wedge and Corner Mount accessories ship with a pair of shortened all-purpose screws. These screws are used to secure the back plate to the accessory ( ② in the image below). Use the pointed, regular-length screws to secure the accessory to your wall or surface ( in the image below). See image below for more details.

Note that the doorbell comes with two replacement terminal screws that are shorter and have very fine threads as compared to the accessory mounting screws.


1. Regular length multi-purpose screws attach the Wedge or Corner Mount to your location through slots in the accessory.

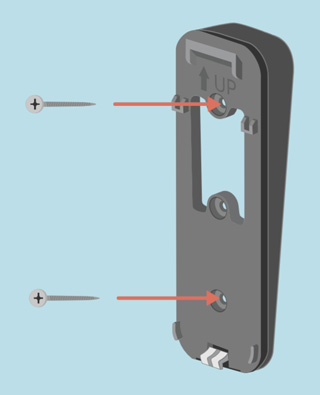
2. Shortened screws secure the back plate to attachment points molded into the Wedge and Corner Mount.


Doorbell shown attached to Wedge and back plate.
a Blink Wedge mount accessory providing 5 degrees of perspective change is shown by a numeral 1 to have regular length screws entering a slot molded into the accesory. To the right of that is an image depicting the blink video doorbell back plate being attached to the wedge accessory by shortened screws that are entering molded receptacles in the mounting accessory.


Click for detailed instructions

1. Use the longer pair of screws to secure the wedge or corner mount, first. Make sure to put the screws through the slot openings as shown.

Wired installation details

Back plate with screws Back plate with three mounting holes

Attach one doorbell wire to each machine screw on the back plate. Wire color is not a factor for this installation.
If needed, 2 extra screws are in the box.

Attach the back plate to the wedge or corner mount, with the shorter pair of screws, included in the accessory packaging.

Attach the back plate to the wedge or corner mount, with the shorter pair of screws, included in the accessory packaging.

Attach one doorbell wire to each terminal screw on the doorbell.
Wire color is not important here.
If needed, 2 extra screws are in the box.


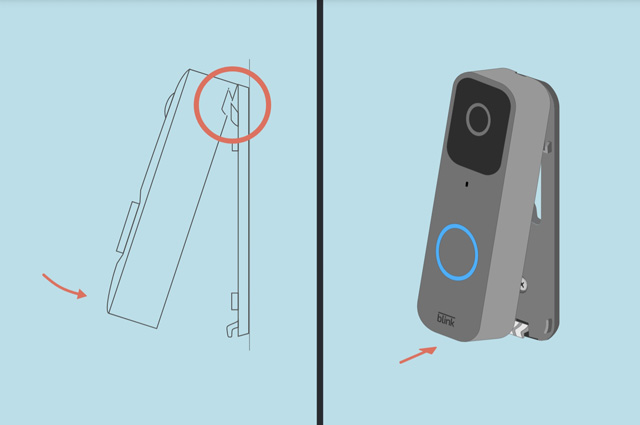
Finally, use a two step motion to attach the doorbell to the back plate. 

  1. Line up the pins on the back plate with the slots in the doorbell
  2. Press the doorbell firmly against the back plate, and then 'down' to make the two parts even at the bottom.
    You should feel/hear a slight click as the connection secures.


Now, attach the doorbell to the back plate by lining up the top and pivoting downward. Press until you feel or hear a click and the doorbell is secure.
Delete


3. Attach the doorbell and test.

Once the doorbell is in place, if it has already been set up, press the doorbell button and you will receive an alert notification. Tap the notification to see through the doorbell camera and make sure the view is what you want. If you have not set up the doorbell yet, visit Setting up your Blink Video Doorbell‍.

If you have set an Activity Zone or Privacy Zone, be aware of how they have been affected by the change in camera view. You may have to re-set the Activity or Privacy zones.

Click to learn more about Blink Video Doorbell Motion Detection‍.


Can’t find what you’re looking for?

Contact Support