This article outlines the steps for updating the Wi-Fi settings for your Wired Floodlight camera.
- Tap the More
 button located at the bottom-right corner of the device thumbnail to access Device Settings.
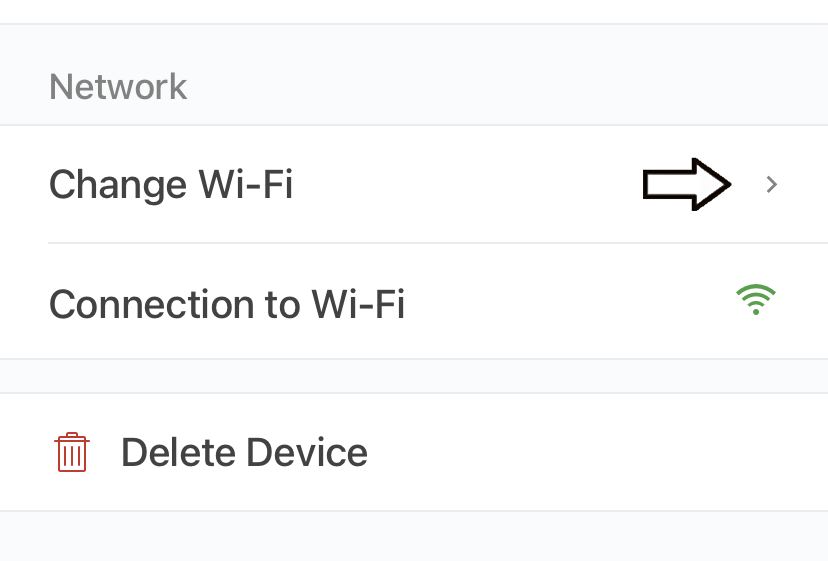
- Select General Settings > Change Wi-Fi.

- On the Change Wi-Fi screen, follow the instruction to wait for blinking blue and steady green lights to display. If this doesn't occur, you can press the reset button located above the camera housing, or power off and on your camera by flipping a wall switch or circuit breaker.

- Tap Discover Device and a pop-up window prompts you to join the "Blink" Wi-Fi network, "BLINK-XXXX."

- Tap Join and select your Wi-Fi network from the list. If your network is not listed, tap Refresh List.
Note: You may be required to move the camera closer to your Wi-Fi router or troubleshoot your router.
- Enter your Wi-Fi password and tap Join.

- If successful, the following message displays “Wired Floodlight camera Wi-Fi changed!”
Tap Done to return to the Home screen.