This article will show you how to mount your new Blink XT camera.
Your Blink XT comes with a mounting bracket and a screw in the box.
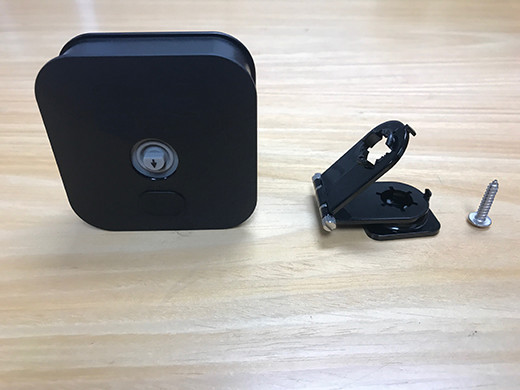
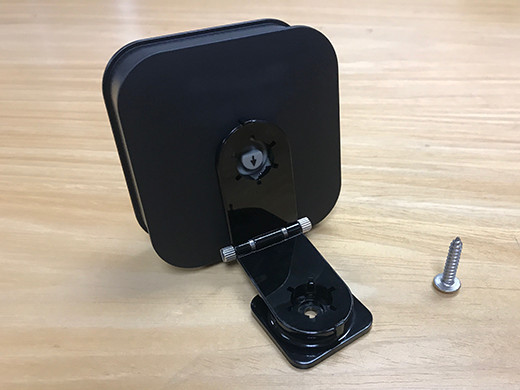
The mount will be inserted into the round opening in the center of the camera's battery cover. It will fit over the gray switch used to remove the battery cover.
Use Live View for this camera by tapping this icon ![]() . You should hold your camera in the location you plan to install it. Verify that this location will give you a good view of the area you are trying to cover.
. You should hold your camera in the location you plan to install it. Verify that this location will give you a good view of the area you are trying to cover.
The best motion detection occurs when a subject walks across the field of view from one side to another rather than directly toward or away from the camera. Please keep this in mind for optimal motion detection before mounting your camera.
Once you find the optimal location for your camera, screw the mount into place. Please note, use of the included screw for mounting will create a hole in the wall surface.

Once mounted to the wall, you can rotate the mounting bracket and open and close the hinge to pick the perfect angle for your camera. If you find that the bracket is loose and causes the camera to not stay in the correct position, you may need to tighten the bracket. There are thumb screws on either side of the hinge. You can hand tighten these or use a small flathead screwdriver to ensure that they are fully tightened.
Use the Live View ![]() button to verify positioning.
button to verify positioning.
When positioning your camera, you want to keep in mind that the best motion detection occurs when a subject walks across the field of view from one side to another rather than directly toward or away from the camera.
See examples below:


Once your Blink XT camera is mounted, here are some helpful tips:
- When it is time to replace batteries, under camera settings it will say “REPLACE” – you will also have a small red battery meter above the camera thumbnail.
- There are battery notifications you can turn on to alert you of when batteries in a camera get low.
- It is possible to remove the camera from the mounting bracket. This way once the mount is attached, or once your Blink XT camera is mounted outdoors, you can remove it to replace batteries.
- To remove the camera, hold the mount still and pull the bottom of the camera away from the mount. The mount fits very tightly so your camera is safe and secure, don’t be afraid to pull the camera off the mounting bracket.
- Our FAQ page about battery life and usage can be found here.