Camera placement
The location of your Wired Floodlight Camera helps you get the view and notifications that you want. Tap ![]() in the wired floodlight camera's thumbnail to enter Live View to determine the camera's best positioning.
in the wired floodlight camera's thumbnail to enter Live View to determine the camera's best positioning.
Keep in mind that random objects, like cars or blowing leaves, and even moving shadows can trigger a motion alert. Note: Impact from tree branches or extreme weather events may also shift the lights or camera.
Motion Zones let you mask off certain regions to selectively prevent motion alerts. This can help with excessive motion clips or false alerts. Learn more about how to configure Motion Zones.
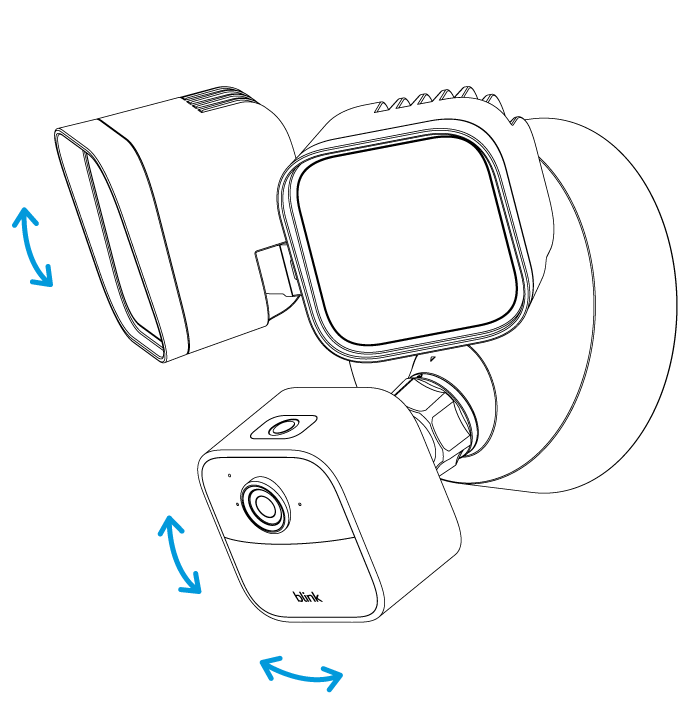
Once your Wired Floodlight Camera is installed, you can adjust the camera angle and both LED lights (see below). Learn more about how to install your Wired Floodlight Camera.
For best motion detection, position your camera so that movement occurs across the camera's field of view. For example, if you want monitor a walkway, position the camera to capture the walkway side-to-side instead of head-on.
Camera positioning
The Wired Floodlight Camera has two lights attached to swivels that use friction to stay in place. You can point the lights in a desired direction by moving them by hand. In total output, they provide 2600 Lumens of LED lighting.
To adjust where the camera is pointing, hold the camera and loosen the screw-collar. Then, adjust the camera angle and tighten the screw-collar. Your camera's field of view is 143º diagonal.