Se il Sync Module è offline o in caso di problemi durante la configurazione, inizia verificando gli schemi di accensione dei LED sul dispositivo. Procedi quindi con le operazioni di risoluzione dei problemi descritte di seguito:
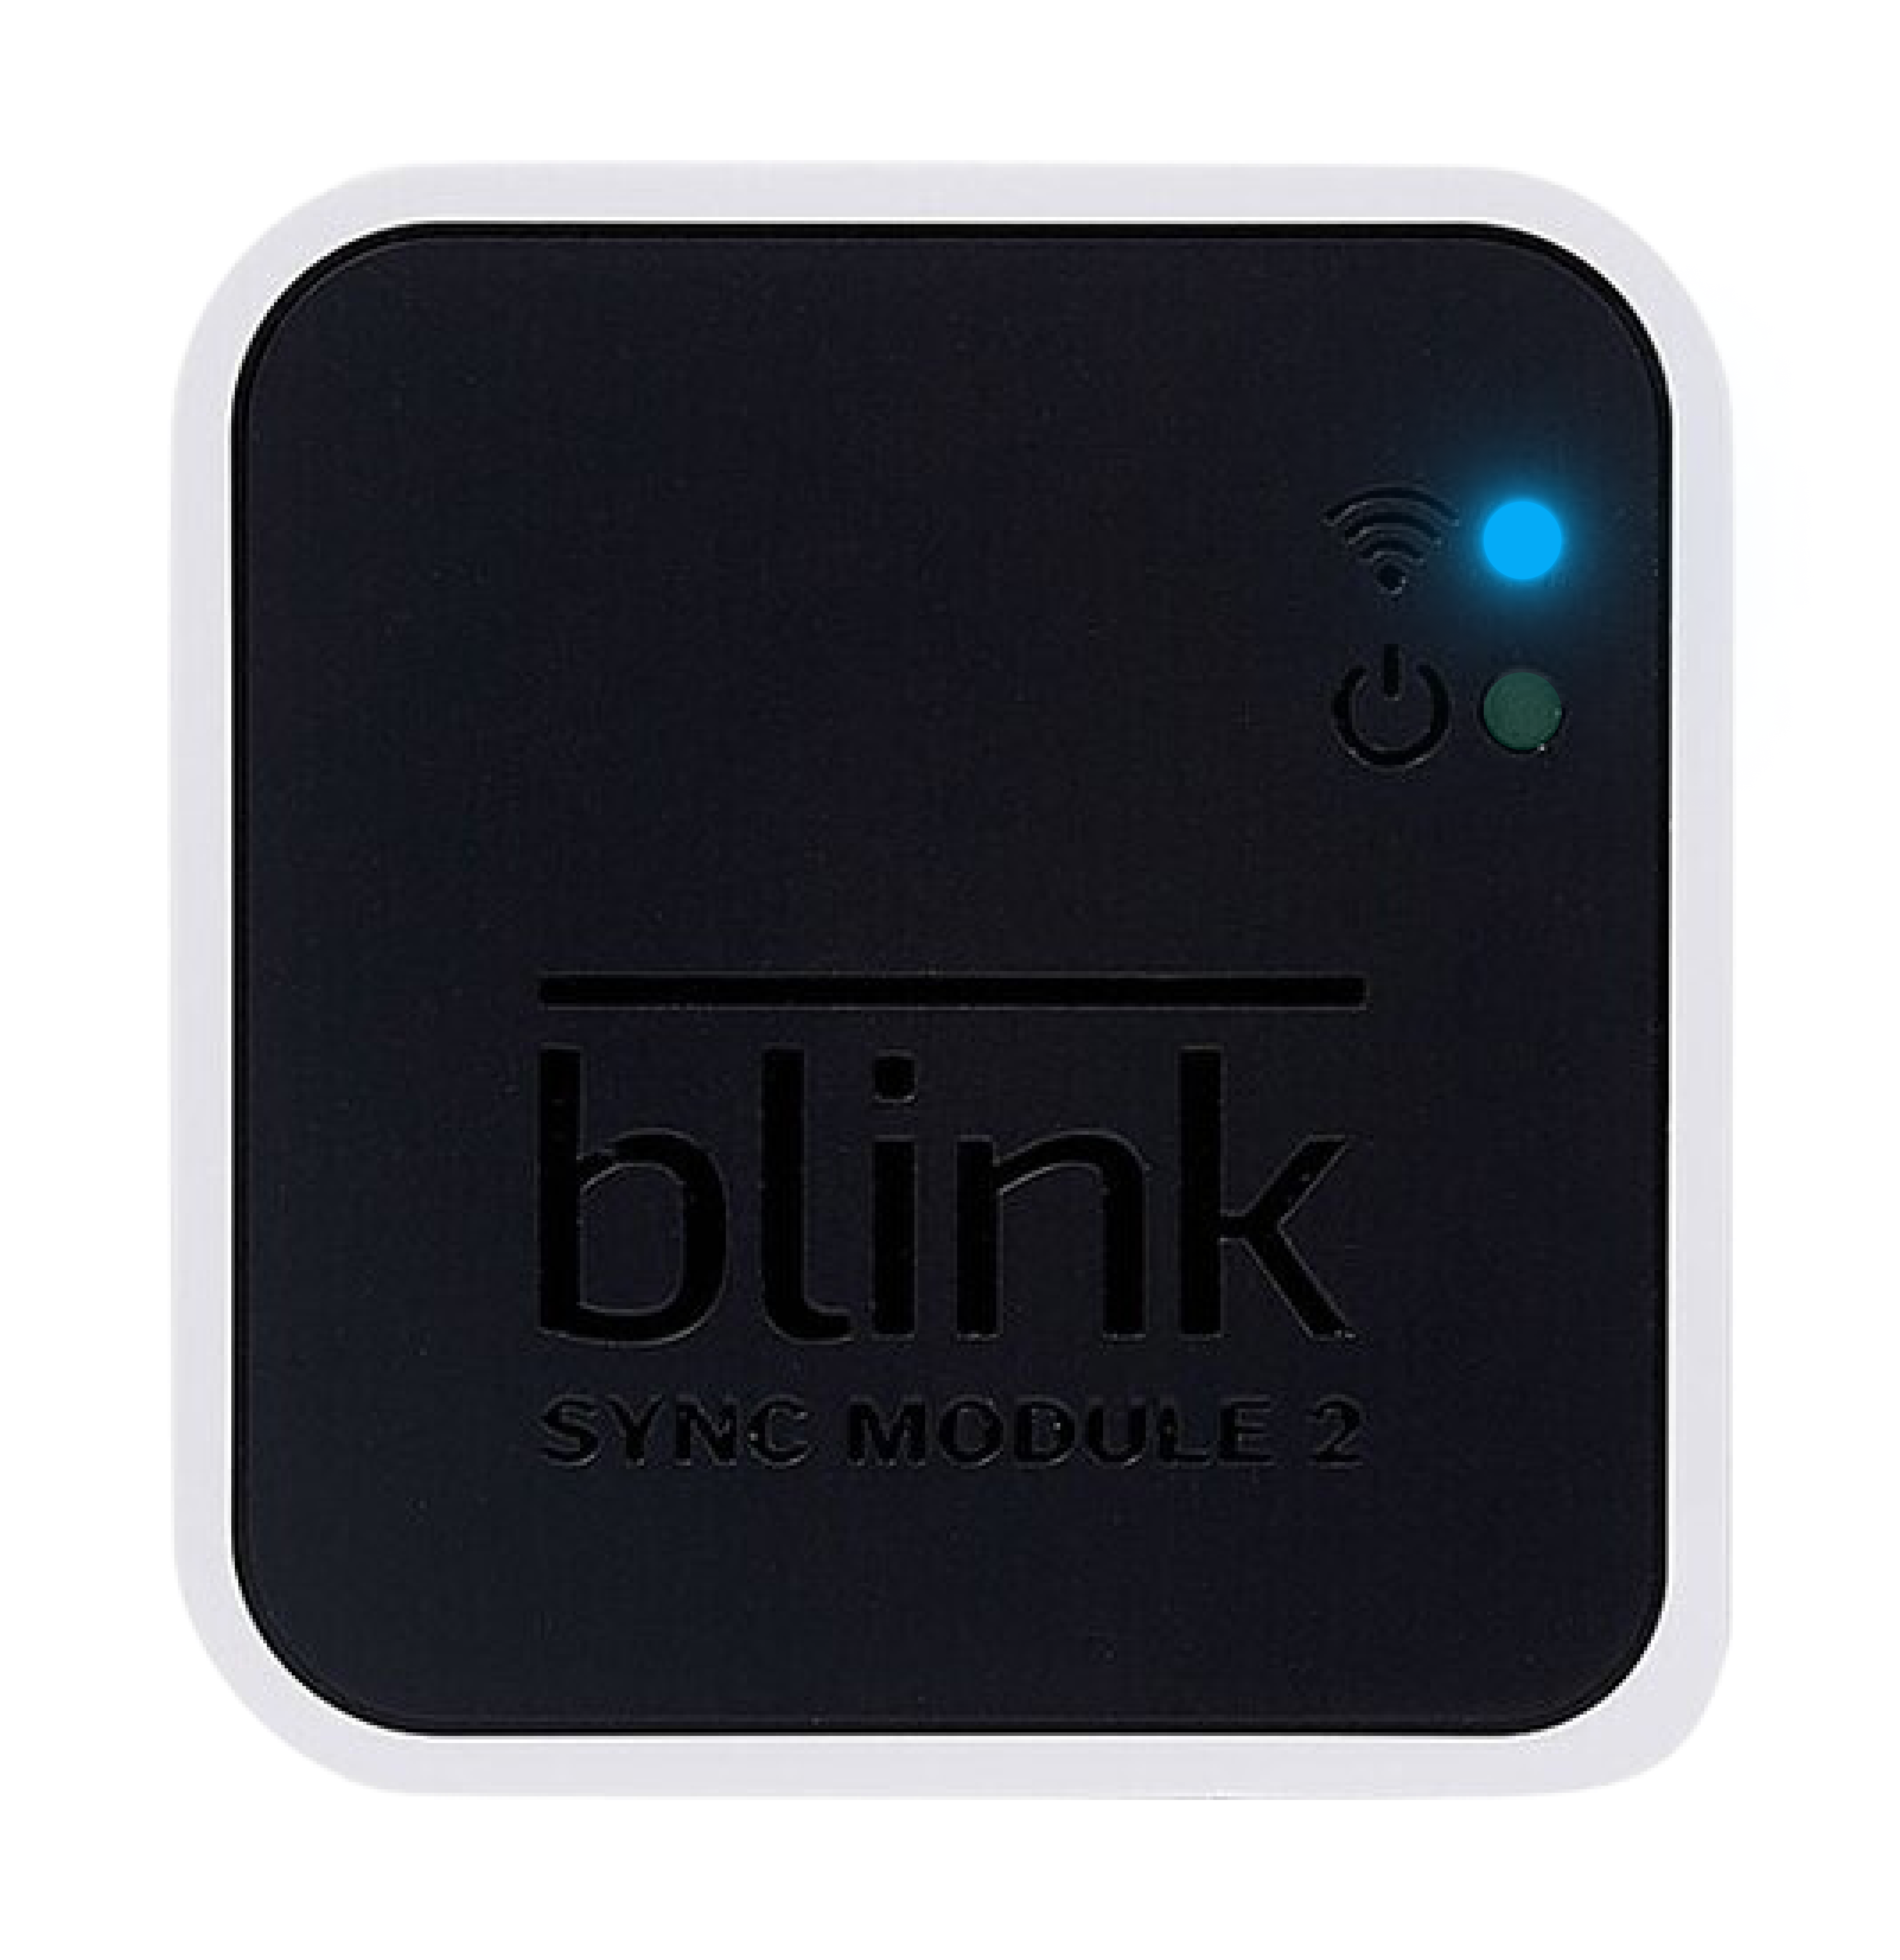
LED blu fisso/verde lampeggiante
Se sul Sync Module un LED è blu fisso e uno è verde lampeggiante, significa che il Sync Module è offline e sta cercando di riconnettersi alla rete Wi-Fi precedentemente configurata.
Tra i vari motivi per cui il Sync Module potrebbe essere offline vi sono le interruzioni di corrente (ad es. interruzioni dell'alimentazione o scollegamento per un periodo di tempo prolungato), l'aggiornamento delle impostazioni Wi-Fi (ad esempio una nuova password) o l'interferenza del segnale da parte di dispositivi come pod ed extender.
Se il Sync Module va offline, nell'app Blink vedrai quanto segue:
- Nella parte superiore della schermata iniziale apparirà un banner "Il Sync Module non in linea".
- Le miniature di ogni videocamera che richiede un Sync Module si offuscano e visualizzano il messaggio "Sync Module non in linea" al centro.
Prima di tentare la risoluzione dei problemi, verifica quanto segue:
- Compatibilità di rete: la rete soddisfa i requisiti necessari per i dispositivi Blink, come indicato in Comprendere i requisiti Wi-Fi e di rete.
- Password Wi-Fi: la password Wi-Fi non è stata modificata dall'ultima configurazione del Sync Module. Se è stata modificata, devi aggiornare il Sync Module con la nuova password Wi-Fi. Per istruzioni, visita Aggiornamento delle impostazioni Wi-Fi del Sync Module.
Dopo aver verificato le informazioni di cui sopra, se il problema persiste, prova a eseguire le seguenti operazioni di risoluzione dei problemi:
- Riavvia il router: scollega il router dalla presa di corrente, attendi 30 secondi e ricollegalo.
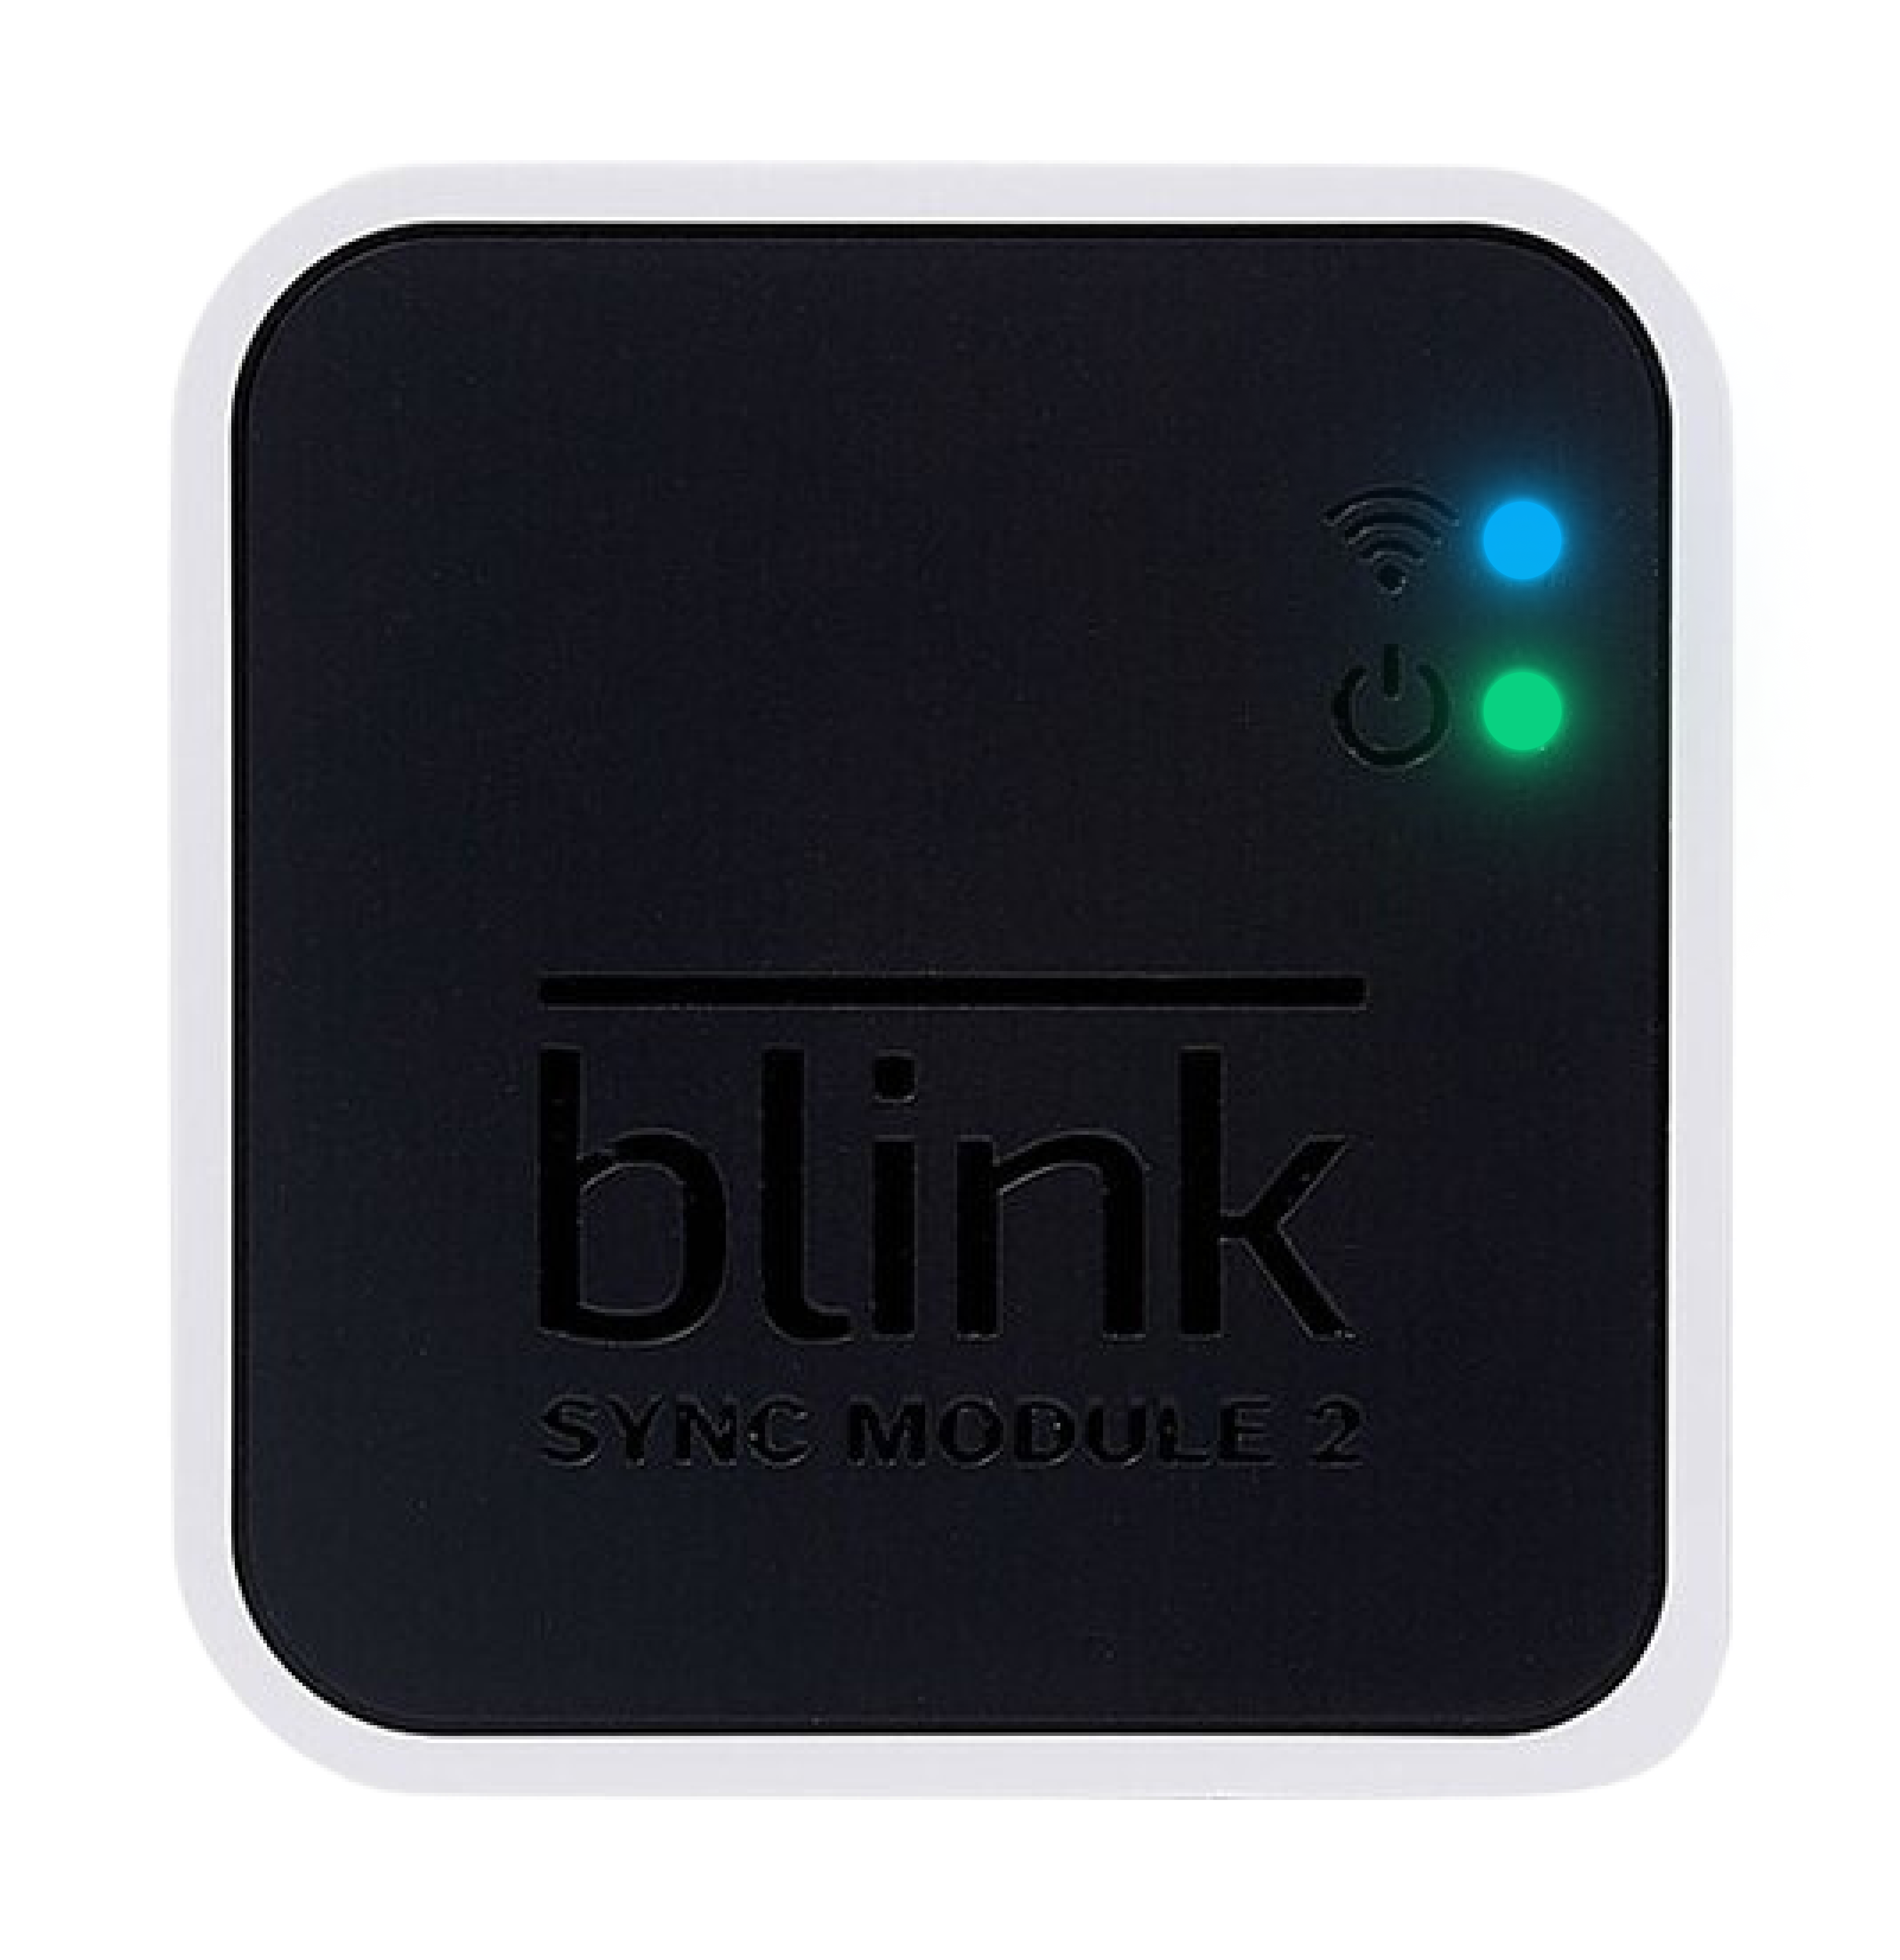
- Riavvia il Sync Module: scollega il Sync Module dall'alimentazione per 10 secondi, quindi ricollegalo. Dopo il riavvio, viene visualizzato un LED blu fisso e verde fisso, che indica che il Sync Module si è ricollegato correttamente alla rete.
- Reinserisci la password della rete Wi-Fi: aggiorna la connessione Wi-Fi del Sync Module inserendo nuovamente la password Wi-Fi. Per informazioni sull'aggiornamento delle impostazioni Wi-Fi del Sync Module, visita Aggiornamento delle impostazioni Wi-Fi del Sync Module.
-
Semplifica la configurazione della rete Wi-Fi: Scollega eventuali pod o extender e assicurati che sia acceso solo il router principale.
Nota: dopo che il Sync Module si è collegato correttamente, puoi ricollegare i pod o gli extender precedentemente scollegati.
Se il problema persiste dopo aver seguito i passaggi sopra descritti, dovrai eliminare e riaggiungere il Sync Module.
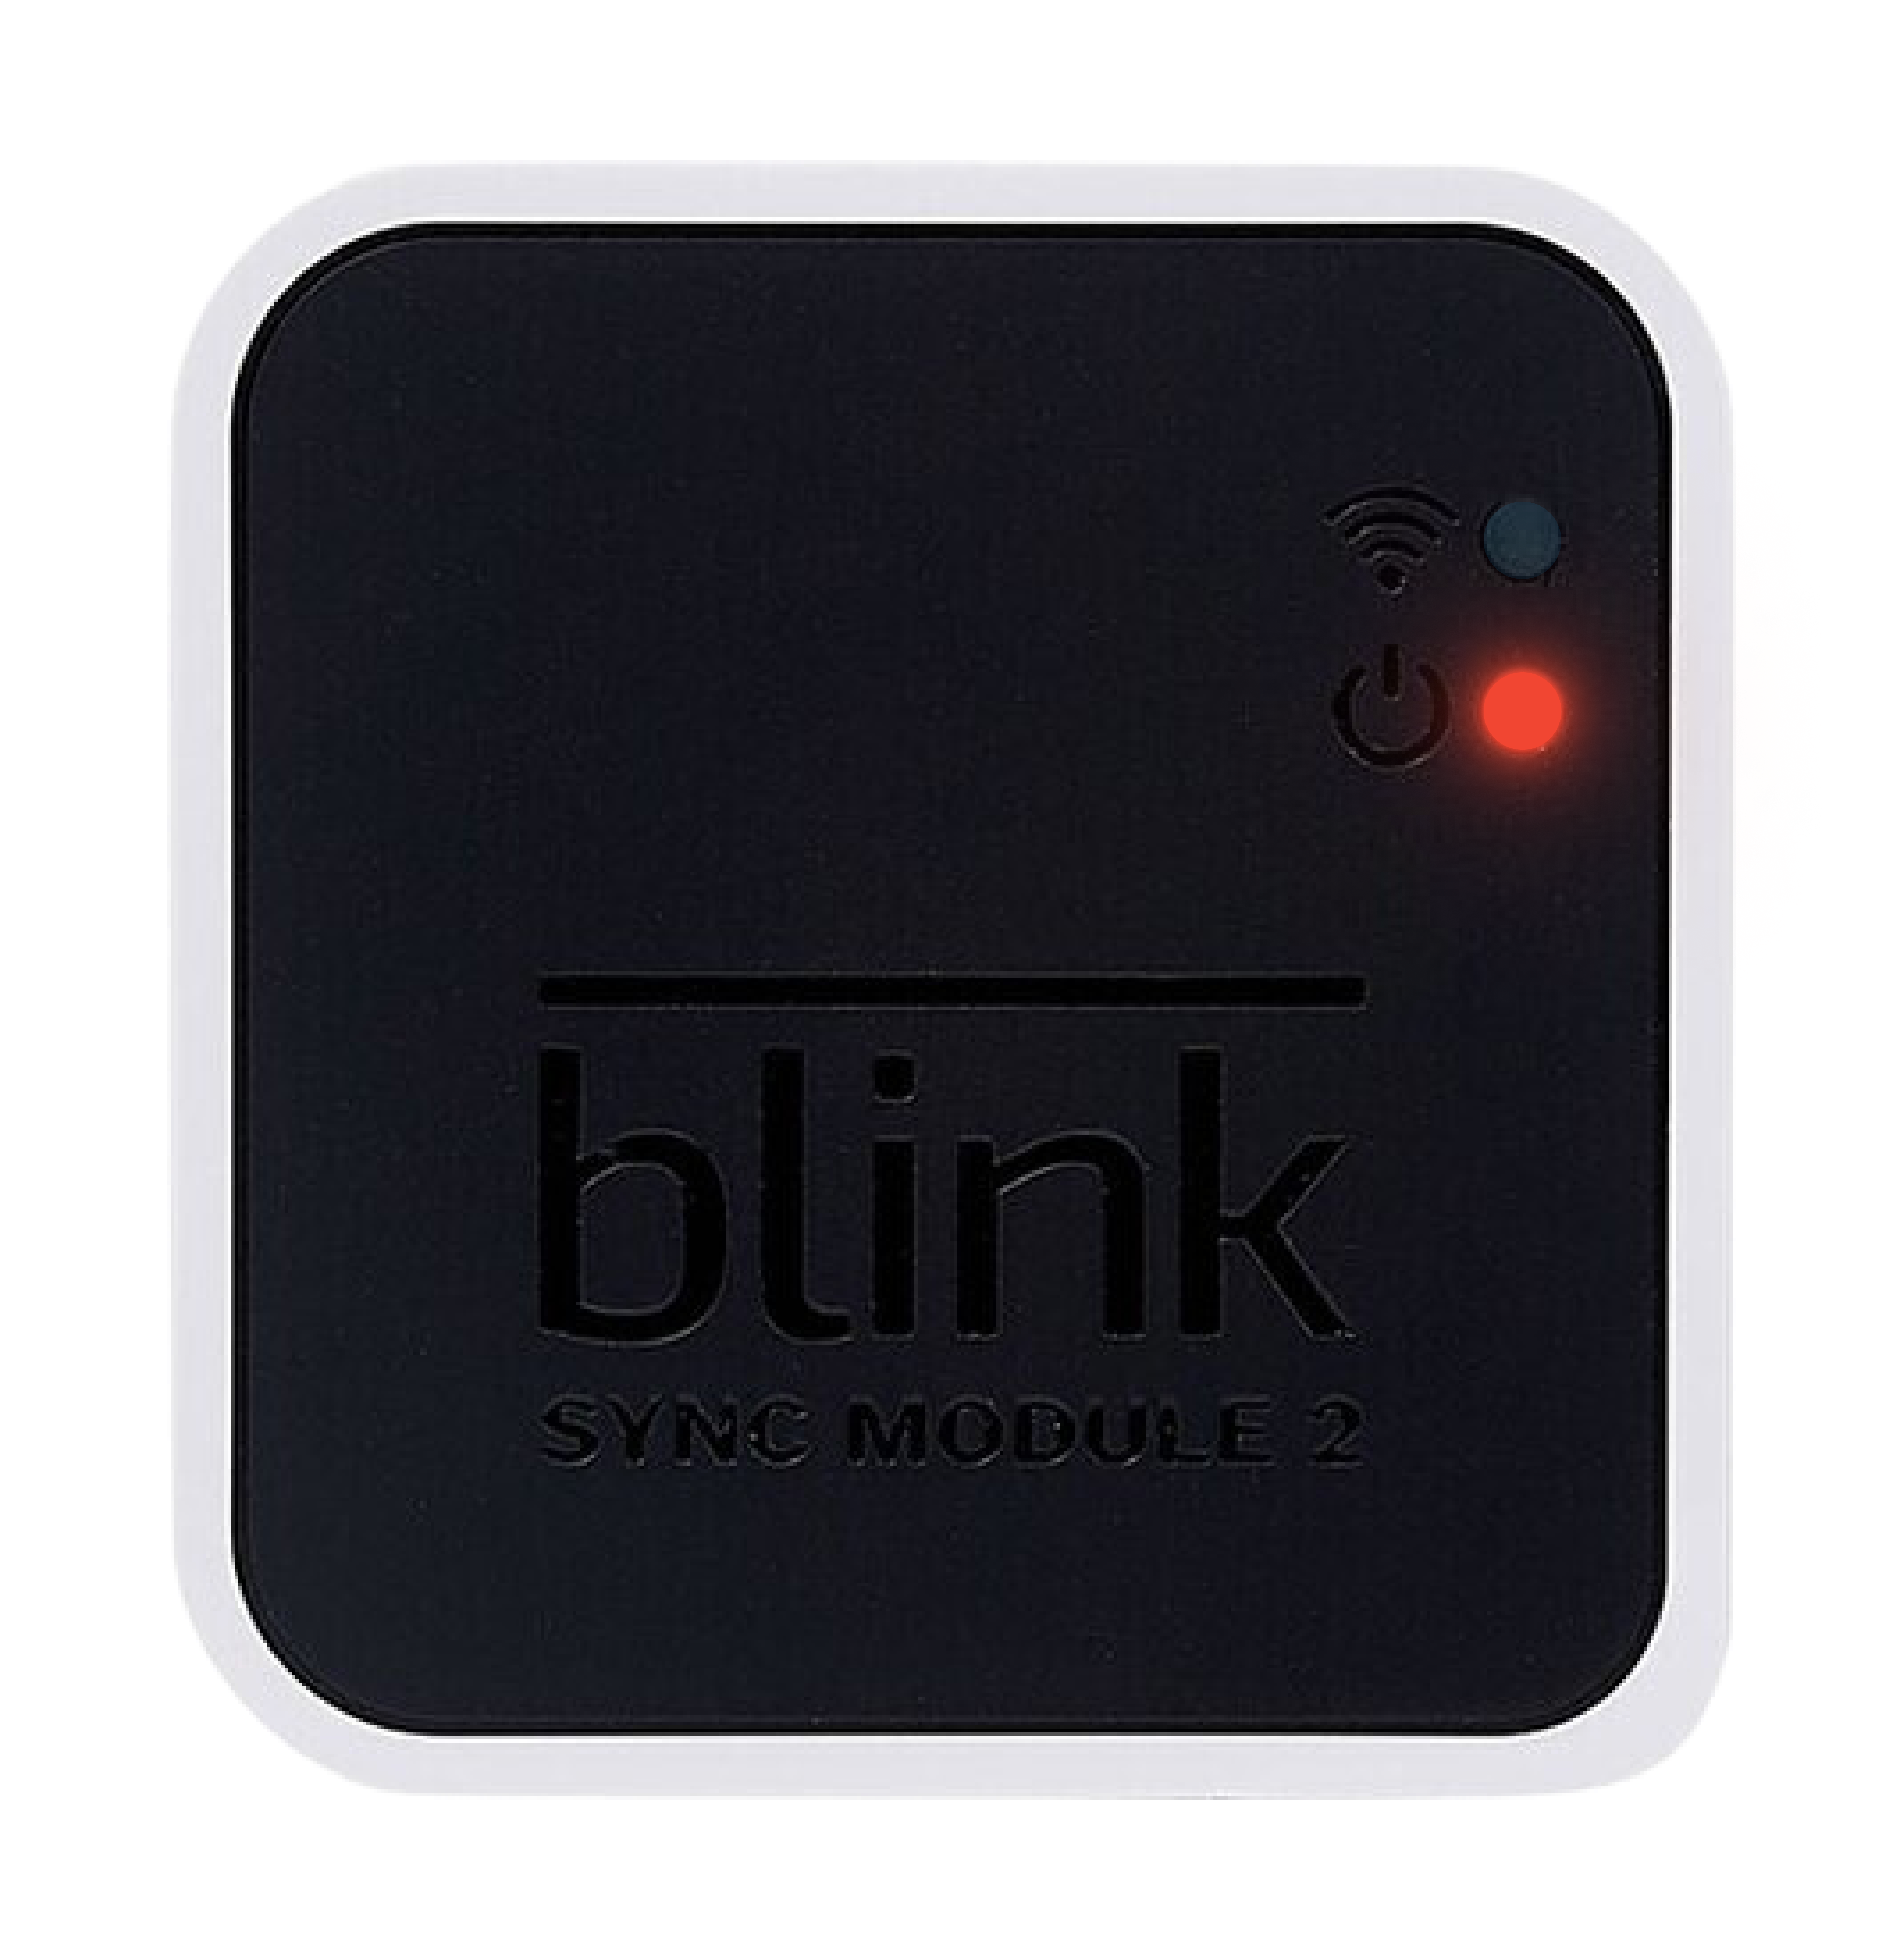
LED rosso fisso
Se sul Sync Module un LED è rosso fisso durante la configurazione, significa che il Sync Module non è in grado di connettersi alla rete Wi-Fi o che la password Wi-Fi inserita potrebbe essere errata.
Prima di tentare la risoluzione dei problemi, verifica quanto segue:
- Compatibilità di rete: la rete soddisfa i requisiti necessari per i dispositivi Blink, come indicato in Comprendere i requisiti Wi-Fi e di rete.
- Posizionamento del Sync Module: il Sync Module si trova nella stessa stanza del router, ma non troppo vicino, e deve essere posizionato lontano da ostacoli fisici per evitare interferenze di rete. Per maggiori informazioni sulle best practice di posizionamento, fai riferimento a Comprendere il posizionamento del Sync Module.
- Password Wi-Fi: la password Wi-Fi inserita è corretta. Se durante la configurazione del Sync Module nell'app Blink viene visualizzato l'avviso "Password errata per il Wi-Fi", reinserisci la password con attenzione e riprova. Per la risoluzione di ulteriori problemi, visita Risoluzione dei problemi relativi alla password Wi-Fi errata nell'app Blink.
- Nessun conflitto tra app o interferenze di rete: non ci sono app in conflitto con l'app Blink né VPN, firewall o antivirus attivi o collegati al dispositivo mobile.
Dopo aver verificato le informazioni di cui sopra, se il problema persiste, prova a eseguire le seguenti operazioni di risoluzione dei problemi:
- Riavvia il Sync Module: scollega il Sync Module dall'alimentazione per 10 secondi, quindi ricollegalo. Dopo il riavvio, un LED blu lampeggiante e verde fisso indica che il dispositivo è pronto per la configurazione.
- Riavvia il router: scollega il router dalla presa di corrente, attendi 30 secondi e ricollegalo.
-
Semplifica la configurazione della rete Wi-Fi: Scollega eventuali pod o extender e assicurati che sia acceso solo il router principale.
Nota: dopo che il Sync Module si è collegato correttamente, puoi ricollegare i pod o gli extender precedentemente scollegati.
Se il problema persiste dopo aver seguito i passaggi sopra descritti, procedi con un ripristino alle impostazioni di fabbrica del Sync Module.
Sync Module XR offline
Se il Sync Module XR è offline, ciò può indicare un problema di alimentazione o un problema con la scheda MicroSD inserita.
Il Sync Module XR può visualizzare uno dei seguenti schemi di LED:
- LED blu fisso e verde fisso
- LED fiochi o tremolanti
- Nessun LED
Prima di tentare la risoluzione dei problemi, verifica quanto segue:
- Fonte di alimentazione: assicurati che l'alimentatore di corrente sia saldamente collegato sia al Sync Module che alla presa di corrente. Se la connessione è sicura, verifica il funzionamento della presa testandola con un altro dispositivo o provando un'altra presa.
Dopo aver verificato la fonte di alimentazione, se il problema persiste, potrebbe indicare che la scheda MicroSD è difettosa o danneggiata.
Per verificare che la scheda MicroSD non stia causando la disconnessione del Sync Module, prova a eseguire le seguenti operazioni di risoluzione dei problemi:
- Controlla la scheda MicroSD: scollega il Sync Module dalla presa di corrente. Rimuovi la scheda MicroSD e verifica che non vi siano danni visibili. Se danneggiata, sostituisci la scheda MicroSD. Non reinserire la scheda MicroSD fino al passaggio successivo.
- Ricollega il Sync Module alla presa di corrente: Quando il Sync Module mostra un LED blu e verde fisso, reinserisci la scheda MicroSD solo se non è danneggiata o è stata sostituita. Se il Sync Module si disconnette di nuovo, la scheda MicroSD potrebbe essere difettosa e dovrà essere sostituita.
Se il Sync Module rimane offline dopo aver sostituito la scheda MicroSD e aver seguito i passaggi sopra descritti, contatta il Supporto tecnico.