If you wire your Video Doorbell (1st Gen) to compatible chime wiring, your in-home chime will sound for doorbell button presses. This article is an overview of the in-app process for wiring the Video Doorbell to your compatible chime system.
Note: Even when wired, the doorbell is always powered by size AA, 1.5 volt, lithium non-rechargeable batteries.
Before you begin
Check your compatibility and voltage requirements
The Video Doorbell (1st Gen) requires a power supply between 16 -24 VAC at 50 - 60Hz, and 40VA maximum from your doorbell transformer. Ensure the voltage coming from the transformer matches the voltage of the chime. For example, a 16V chime should be wired to a 16V transformer.
If your chime system provides less than 16 VAC, your doorbell will enter Event Response mode.
If you're unsure about your chime system's voltage, visit How do I find my doorbell's system voltage?
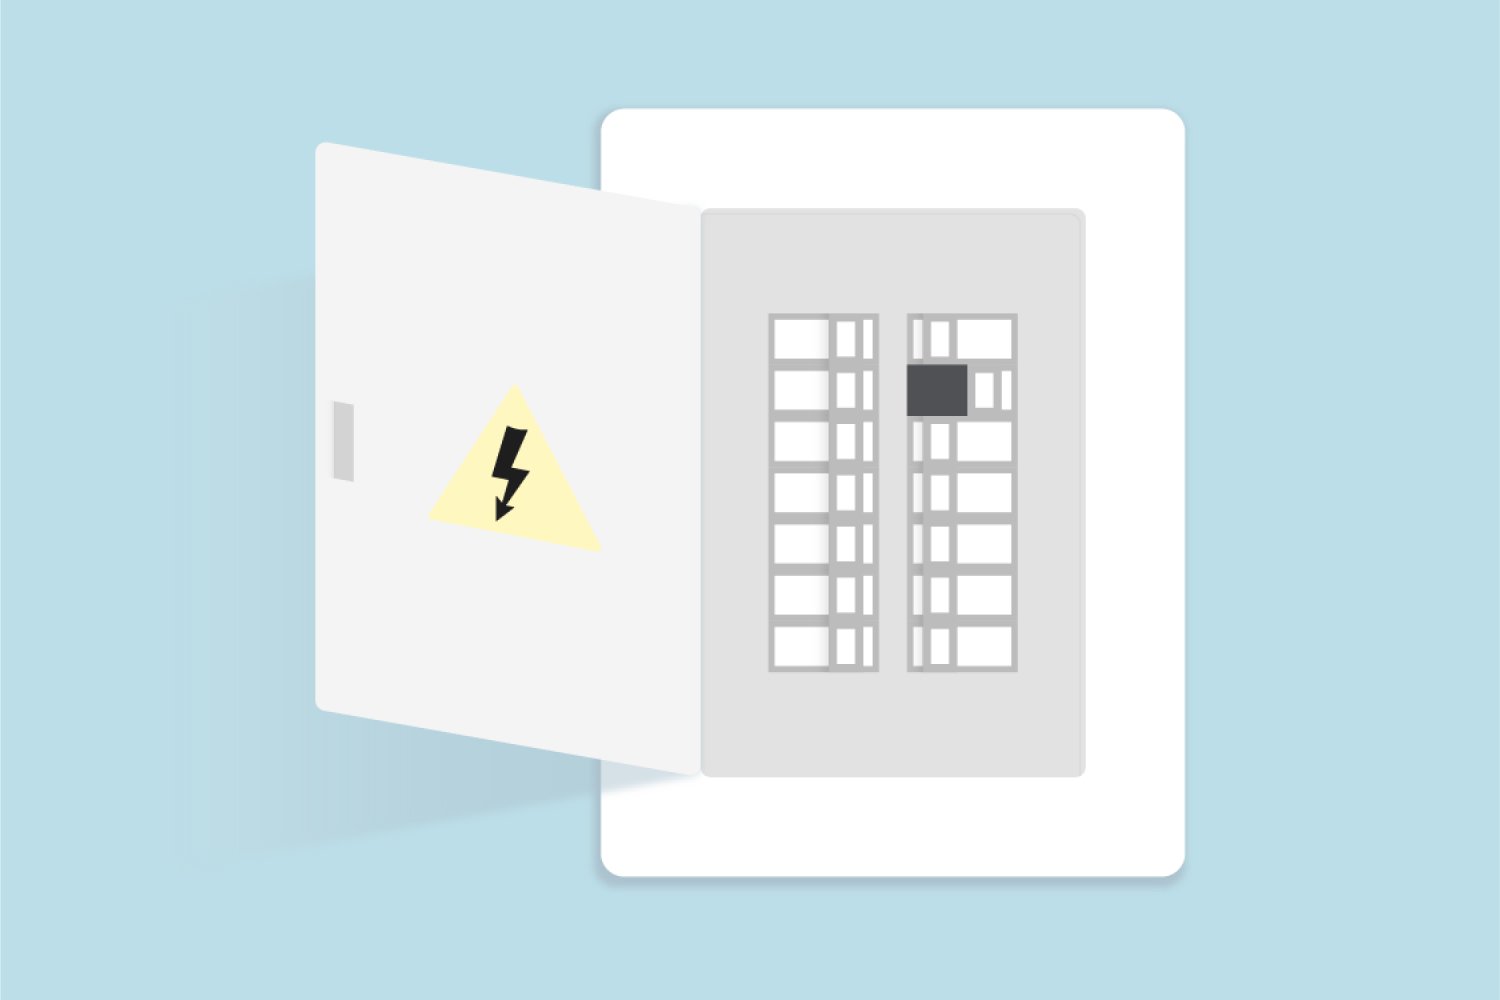
DeleteTurn off power to your existing chime system
Turn off power to the doorbell and chime box at your home's circuit breaker.
Remove your old doorbell
Unscrew and remove your old doorbell. Disconnect any wires attached to your old doorbell and remove any additional hardware.
DeleteAttach the back plate and connect the wires
Once you add the Video Doorbell (1st Gen) to your Blink account and select Mount with Wiring, the app will lead you through the wiring process.
When you have the required items (Blink Video Doorbell kit, Power drill, and sticky tape), tap Continue to start your wired installation.
Tap My transformer is compatible to confirm your doorbell transformer meets the 16 - 24 volts AC at 50 - 60Hz, and 40VA maximum requirement and then tap Agree and Continue. If you're unsure about your chime system's voltage, visit How do I find my doorbell's system voltage?
-
If you haven't turned off power to the doorbell and chime box, please do that now. When the power is off, tap Continue.
-
If you haven't removed your old doorbell, please do that now. Disconnect any wires attached to your old doorbell and remove any additional hardware.

-
If you're using a wedge or corner mount, visit Install a wedge or corner mount for step-by-step instructions. If you're not using a wedge or corner mount, move to the next step.
-
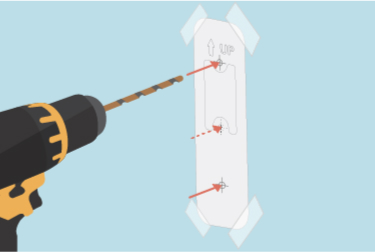
Use the included template to show where the mounting holes are to be drilled. Tape the template in place, approximately 40 to 48 inches (102cm to 122cm) above the ground.
-
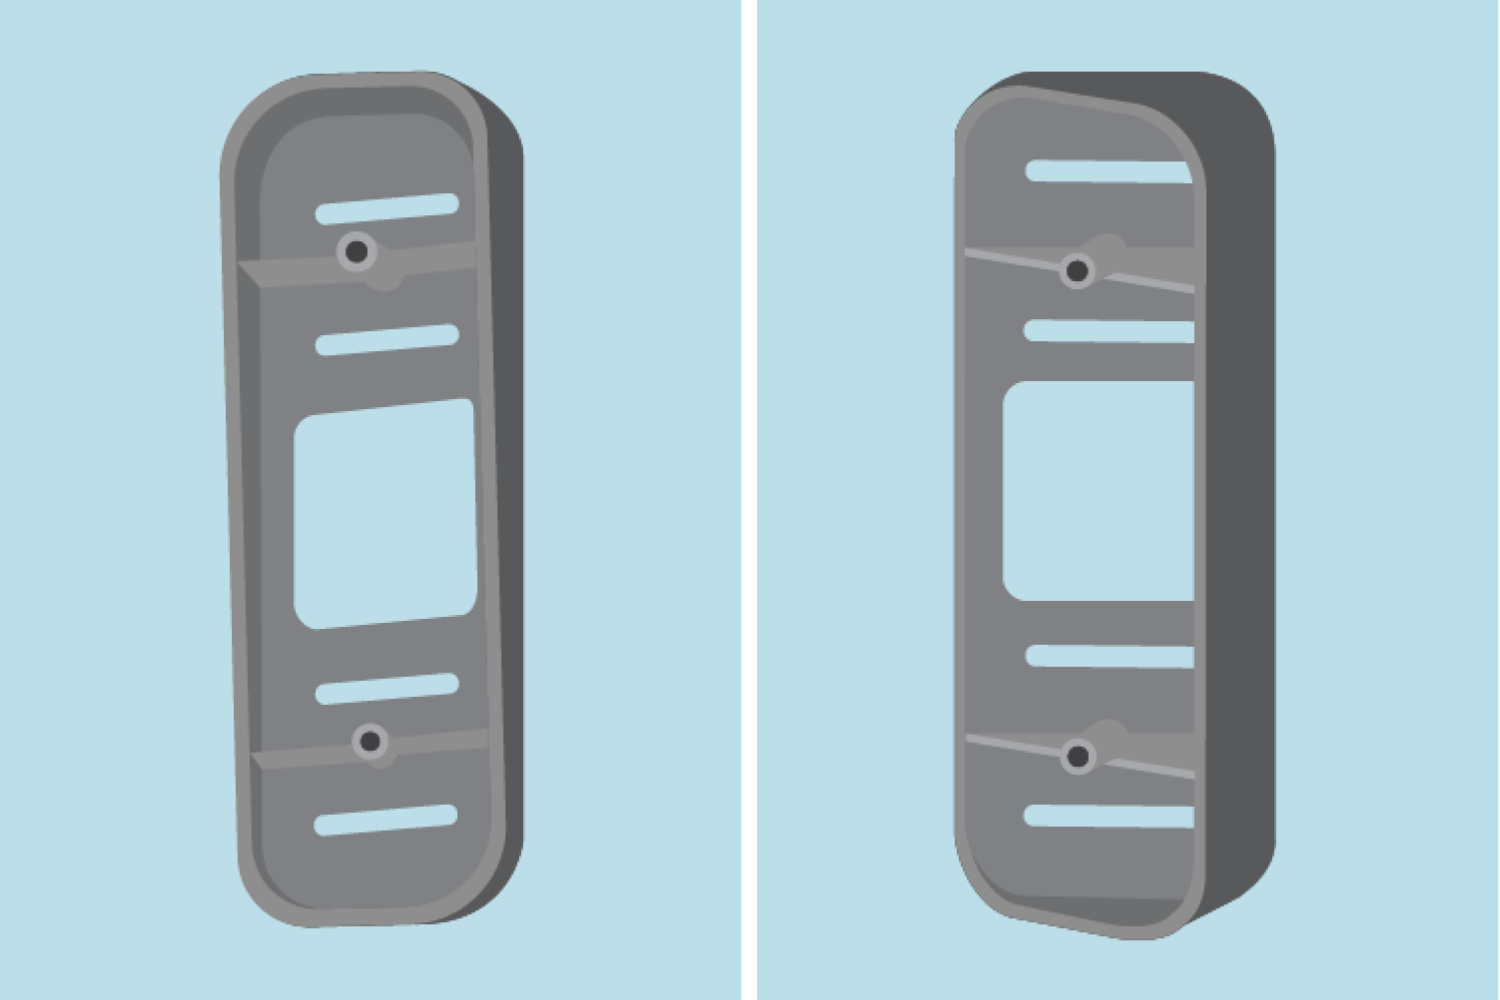
Attach the back plate to your surface with the screws that are included. On a smooth surface, use the top and bottom holes. On an uneven surface, use the top and middle holes.

-
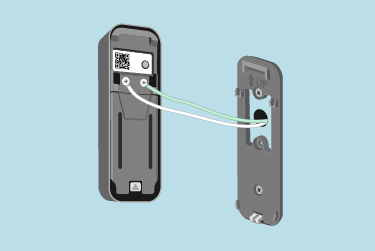
Attach one doorbell wire to each screw on the back plate. Either wire can be connected to either post. Two extra screws are provided in the doorbell packaging.
Mount the doorbell
Use a two-step motion, attach the doorbell to the back plate.
- Align the top edge of your doorbell to the back plate.
- Push it firmly against the back plate until you hear and feel a slight click to confirm it is secure. The doorbell can only be removed by inserting the release key at the bottom of it.
- Note: If the "Wired power not supported" alert message displays during wiring installation and your doorbell is not connected to a Sync Module, this means your existing chime wiring is not compatible. The doorbell will default to Event Response mode. Learn more about Event Response Mode.
Turn the power back on and complete your setup
Switch the power back on to your doorbell chime.
-
The doorbell will search for a Wi-Fi connection and when connected, you will see a confirmation message in the app.
Next, select your chime type and tap Continue. If you are unsure which chime you have, visit using the Video Doorbell with a chime to learn more.
After you select a chime type, the app walks you through testing the sound of your chime. Learn more about changing the chime volume.
If the connection is successful, tap Done and your Video Doorbell is ready for use.